How to Style an Asian Coffee Table in 7 Simple Steps
Styling an Asian-inspired coffee table means embracing the principles of balance, restraint, and intentional space. Rather than covering every surface with objects, you’ll arrange a few carefully chosen pieces that honor the table’s clean lines and natural materials. The process takes about 20 minutes and requires no special skills, just an eye for asymmetry and a willingness to let negative space do its work.
If you already know how to decorate a coffee table in Western styles, you’ll need to shift your approach here. Asian design philosophy rejects the “more is more” mentality. Instead, each item should have purpose and presence.
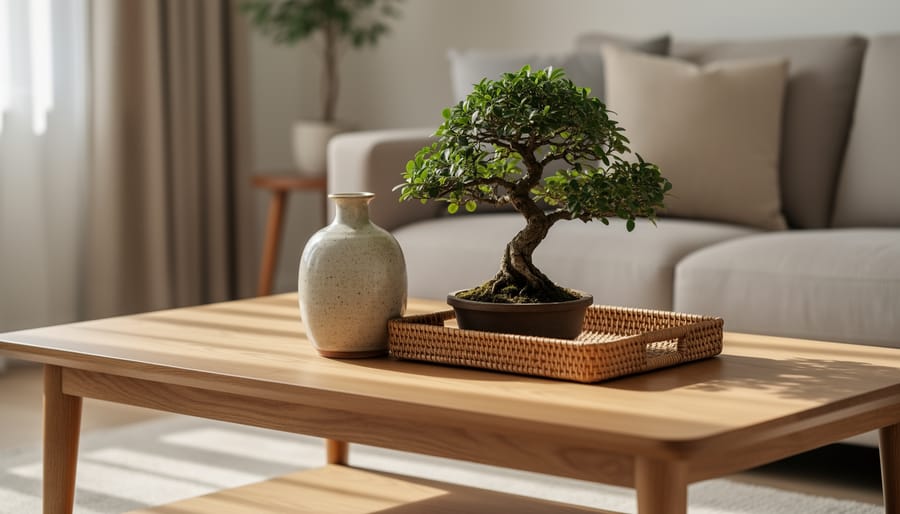
The beauty of these tables lies in their natural wood grains, low profiles, and often minimalist construction. Your styling should complement those qualities, not compete with them. Think organic textures, neutral palettes, and groupings of odd numbers. A single ceramic vase, a small bonsai or sculptural branch, and a handmade tray create more visual interest than a dozen scattered accessories ever could.
Whether your table features Japanese simplicity, Chinese carved details, or Korean modern lines, the approach remains consistent: honor the craftsmanship, respect the negative space, and choose quality over quantity every time.
What You’ll Need to Style Your Asian Coffee Table
Before you begin arranging, gather these materials to ensure you have everything within reach. Having the right pieces prepared makes the styling process smoother and helps you visualize different arrangements before committing.
You’ll need:
- Organizational foundations: A decorative tray (lacquered, bamboo, or ceramic), linen or silk table runner, coasters in natural materials
- Decorative elements: One statement piece (ceramic vase, sculptural bowl, or artisan box), 2-3 art or design books with beautiful spines, small decorative objects with meaning or craftsmanship
- Natural accents: Fresh or preserved botanicals (bonsai, ikebana arrangement, or simple branch), natural stones or pebbles, candles in simple holders
- Practical tools: Microfiber cleaning cloth, furniture polish appropriate for your table’s finish, measuring tape for proportion checking
The key is selecting pieces that embody restraint and natural beauty rather than collecting items just to fill space. Each object should feel intentional, with clean lines and organic materials taking precedence over ornate or busy designs. Think ceramics over plastic, wood over metal, and handcrafted over mass-produced.
Quality matters more than quantity here. Three carefully chosen pieces with authentic craftsmanship will create a more compelling arrangement than a dozen random objects. Consider the weight and delicacy of your specific table when selecting items, Asian furniture often features lighter construction than Western pieces, so choose accordingly.
Important Considerations Before You Start
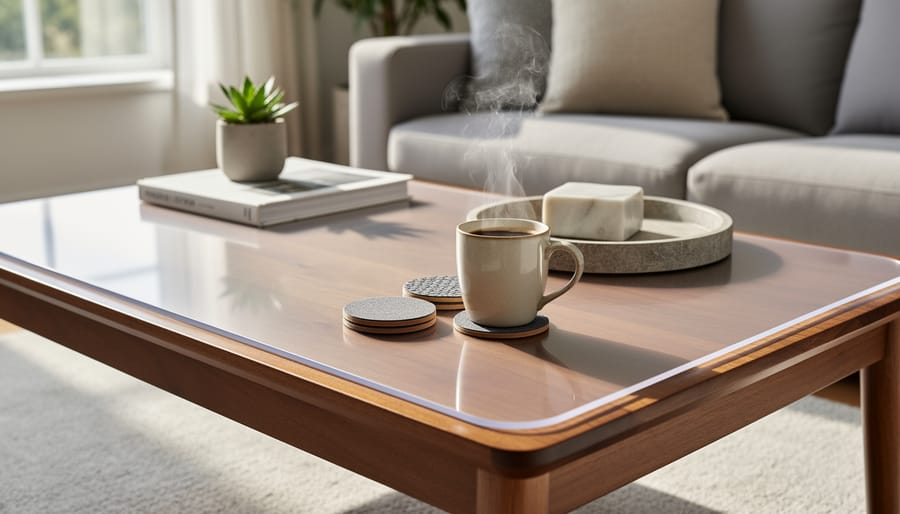
Before you start arranging decor, there are a few crucial things to keep in mind. Asian-style coffee tables often feature delicate finishes, lacquer, carved wood, or bamboo, that scratch and water-stain easily. Always use coasters under any vessel that might leave moisture rings, and place felt pads beneath ceramic or stone objects to protect the surface. Many traditional Asian tables weren’t built for heavy loads, so avoid exceeding load capacity by keeping your styling lightweight and minimal.
Finally, be mindful of cultural significance. Certain symbols, colors, and arrangements carry meaning in Asian traditions. While you don’t need to become an expert, a quick search before placing religious or ceremonial items can help you avoid unintentional disrespect. When in doubt, stick with nature-inspired elements and neutral pieces that honor the aesthetic without appropriating sacred imagery.
Step-by-Step: Styling Your Asian Coffee Table
Step 1: Start with a Clean Slate
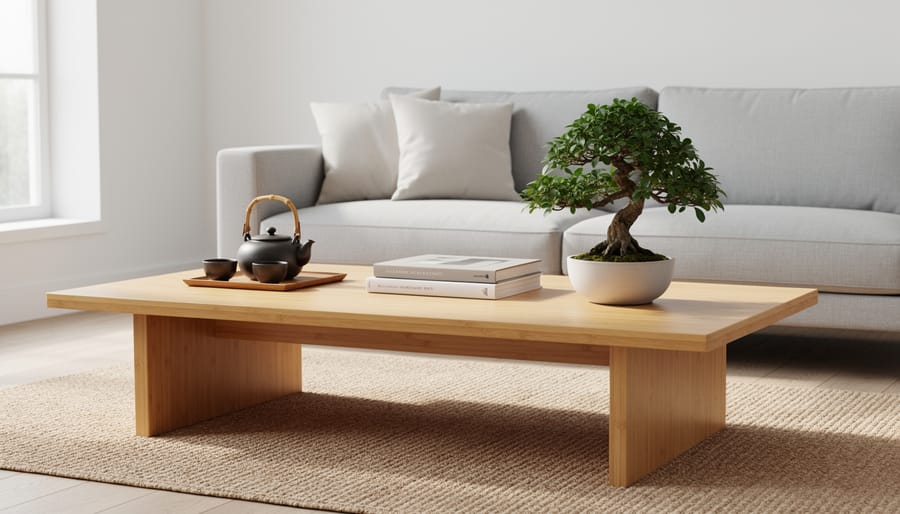
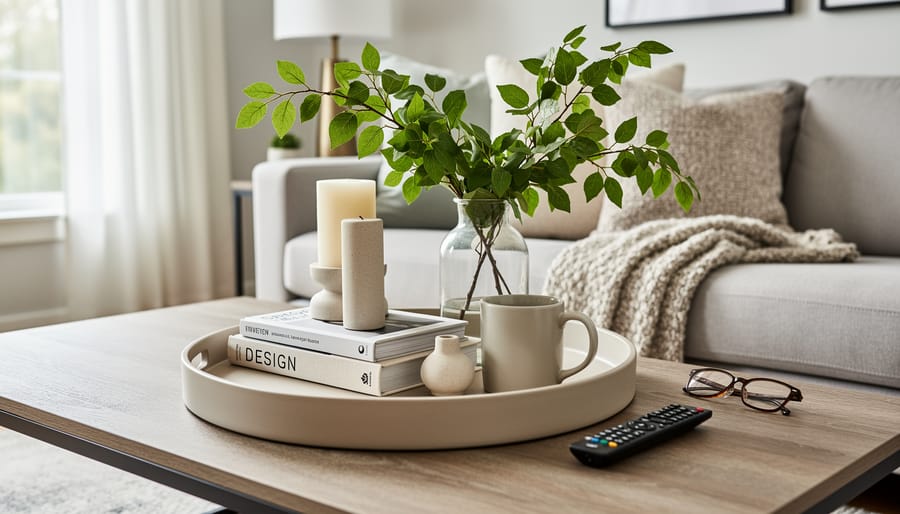
Remove everything currently sitting on your table, coasters, remotes, old magazines, yesterday’s coffee mug. Take it all off. This isn’t just tidying; it’s giving yourself a blank canvas to work with.
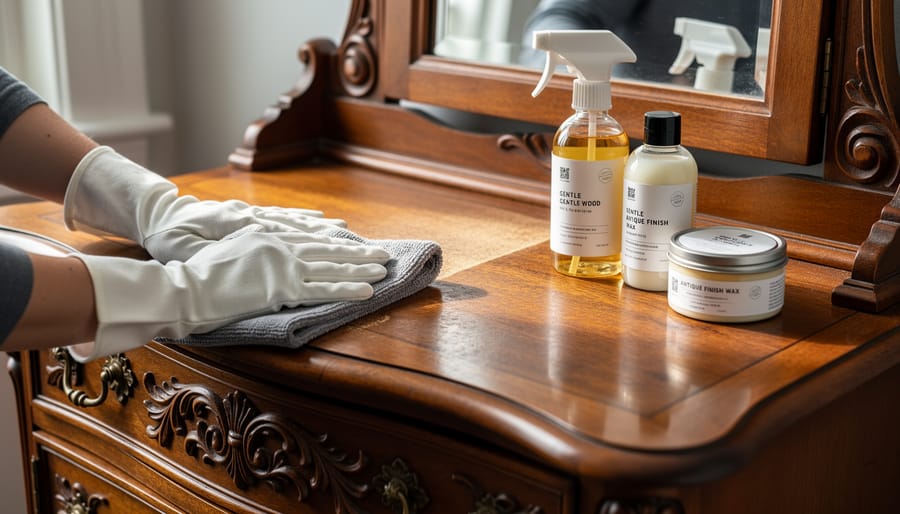
Once the surface is clear, clean it thoroughly. Use a soft microfiber cloth slightly dampened with water (or a wood cleaner if appropriate for your table’s finish). Wipe in the direction of the wood grain if your table has one.
Now step back and really look at your table. Notice its lines, the wood grain, any carved details or inlaid patterns. Asian-style tables often feature beautiful craftsmanship that deserves to be seen, not hidden. This assessment tells you how much styling your table actually needs, sometimes less truly is more.
Step 2: Choose Your Anchor Piece
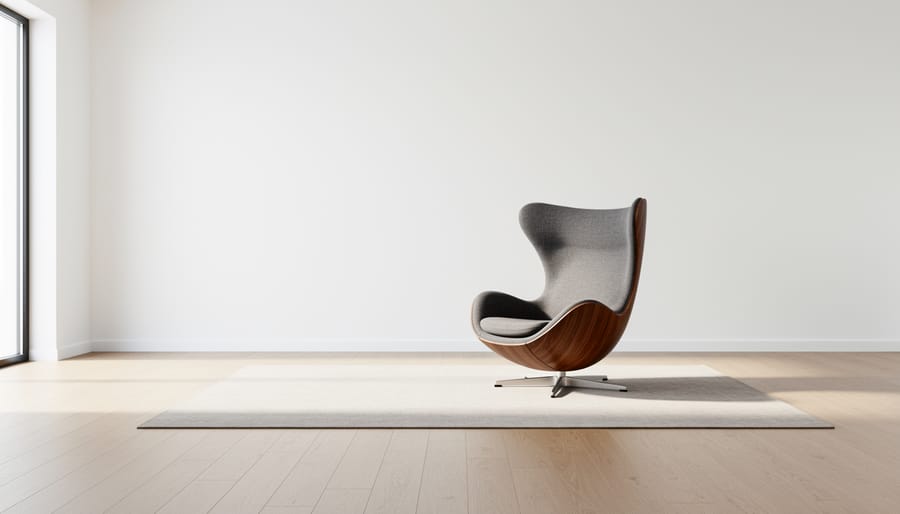
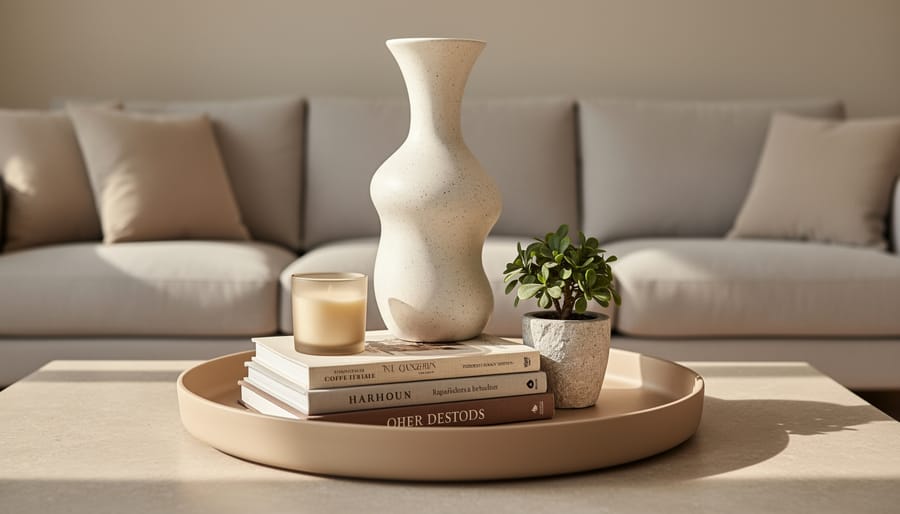
Start by selecting one focal piece that will anchor your entire arrangement. This could be a handcrafted ceramic vase, a sculptural wooden bowl, or an elegant lacquered tray. The key is choosing something with visual weight that reflects Asian craftsmanship, think clean lines, natural materials, and understated beauty.
For proportion, your anchor piece should occupy roughly one-third of the table’s length. On a 40-inch table, that’s about 12-15 inches. Avoid anything that dominates the surface or blocks sightlines across the room. Asian tables typically sit lower than Western styles, so keep your anchor piece under 10 inches tall to maintain the furniture’s inherent low profile.
Place your anchor piece off-center rather than dead center. This asymmetrical positioning creates visual interest while honoring the balanced-yet-dynamic principle found in Asian design philosophies. It also leaves room for the remaining elements you’ll add in subsequent steps.
Step 3: Add Natural Elements
Natural elements form the heart of Asian design philosophy, representing the connection between indoor living spaces and the natural world. This step transforms your coffee table from a styled surface into a meaningful reflection of organic beauty.
Choose one living or organic element as your focal point. A small bonsai tree brings life and contemplation to the arrangement, its carefully shaped branches embody patience and natural artistry. If maintaining a living plant feels daunting, consider a simple ikebana-style arrangement with a single stem in a low ceramic vessel, or place smooth river stones in a shallow bowl filled with water.
Bamboo stalks in a minimalist vase offer vertical interest while staying true to Asian aesthetics. Dried branches, preserved moss, or a piece of driftwood work equally well.
The philosophy here is wabi-sabi: finding beauty in imperfection and impermanence. Your natural element shouldn’t look artificially perfect. A slightly asymmetrical branch or an irregular stone celebrates authenticity rather than manufactured symmetry.
Step 4: Create Visual Balance with Books or Trays
With your anchor piece and natural elements in place, it’s time to introduce functional items that add depth without disrupting the minimalist aesthetic. Art books and decorative trays are perfect for this, they serve a purpose while contributing to the overall composition.
Choose one or two coffee table books with covers that complement your table’s tones. Earthy palettes, nature photography, or Asian art collections work beautifully. Stack them horizontally, slightly offset from center, creating an intentional asymmetry that feels more dynamic than rigid symmetry.
Lacquered trays deserve special mention here. A low-profile tray in black, red, or natural wood can corral smaller items like a teacup or incense holder, preventing the scattered look that undermines minimalist design. Position it at one end of the table, balancing the visual weight of your anchor piece on the opposite side.
The rule of three still applies, but with restraint. If you’ve placed books on one side, a tray on the other, and your vase in between, you’ve created triangle-shaped visual flow without crowding the surface. Leave breathing room between groupings, that empty space is doing just as much work as your carefully chosen objects.
Step 5: Incorporate Texture Through Textiles or Ceramics
With your anchor piece, natural elements, books, and height variations in place, it’s time to introduce tactile interest. Asian design celebrates subtle texture, the rough grain of unglazed pottery against smooth lacquer, the weave of natural linen beside polished wood.
Choose one or two textured elements maximum. A low-profile table runner in undyed linen or raw silk can define the arrangement zone without competing visually. Alternatively, add a set of stone or bamboo coasters that double as sculptural elements when not in use. Handmade ceramic pieces work beautifully here, consider a matte-finish tea bowl or a textured raku dish that catches light differently than your glossy vase.
The key is restraint. Each textured piece should feel purposeful, not decorative for decoration’s sake. Run your hand over the arrangement mentally, you want varied surfaces that create sensory richness without visual noise. If something feels redundant or fights for attention, remove it. Texture should whisper, not shout.
Step 6: Add Height Variation
Varying heights creates visual movement while honoring the low, grounded aesthetic of Asian furniture. The key is subtle elevation, think inches, not feet. Stack two books to elevate a small ceramic piece, or use a low pedestal to raise a bonsai slightly above other elements.
Keep everything below eye level when you’re seated on the floor or a low cushion, which is often how these tables are traditionally experienced. Your tallest item shouldn’t exceed twelve inches, and most pieces should hover between three and eight inches high.
Create gentle peaks and valleys across your arrangement rather than a uniform plane. A shallow bowl sits flat, a small vase rises modestly, and a stack of art books creates a middle height. This rhythm guides the eye across the table without jarring vertical leaps that contradict the furniture’s horizontal emphasis.
Step 7: Edit and Refine
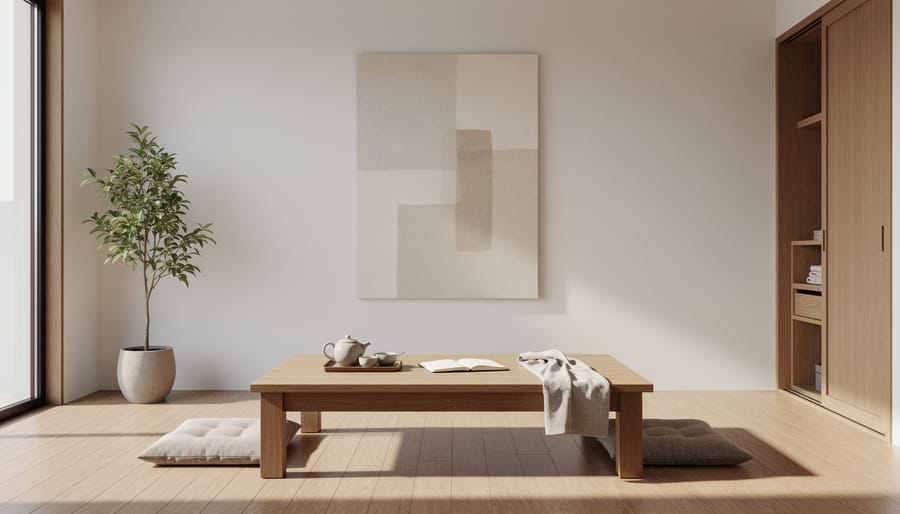
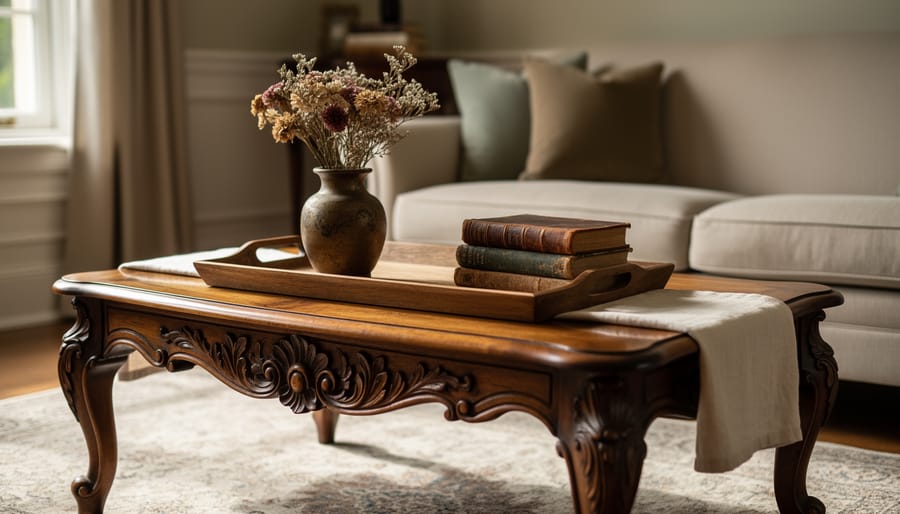
This final step separates a well-styled Asian coffee table from an overcrowded one. Walk around your table and view it from every angle, including from where you’ll sit most often. Remove one or two items that don’t feel essential. The goal isn’t to fill the surface; it’s to create breathing room. If you’re struggling to let go, remember that Asian design philosophy values what you choose to leave out as much as what you include. Unlike how you might style an antique coffee table with layered collections, Asian tables demand restraint. Your finished arrangement should feel effortless, not overthought. The empty space around your objects isn’t wasted, it’s where the design breathes and your eye rests.
How to Know Your Styling Is Working
Stand back about six feet from your table and take a good look. If your eye lands on one spot and stays there, you’ve created a focal point, but if everything competes for attention, it’s time to edit. The styling is working when you can see the table itself, not just the objects on it.
Walk around and view the arrangement from different angles: from your sofa, the entryway, and where you actually sit. A well-styled Asian coffee table maintains visual balance from every sightline, with objects creating subtle rhythm rather than visual chaos.
Test functionality by setting down a cup of tea or a book. You should have plenty of clear surface area, at least 50% of the table should remain empty. If you’re constantly moving decor aside to use the table, you’ve gone too far.
Check that negative space still breathes. Squat down to table height and look across the surface. You should see open areas that let the wood grain or finish shine through. Those empty zones aren’t wasted space, they’re essential to the minimalist philosophy.
Finally, notice how you feel. A successfully styled Asian table creates calm, not clutter. If the arrangement feels restless or demands constant adjustment, simplify further.
For seasonal refreshes, swap just one or two elements rather than redesigning from scratch. Replace summer flowers with autumn branches, or switch a light ceramic piece for something deeper in tone. Small shifts keep the look fresh while honoring your original vision.
Common Asian Coffee Table Styles and How to Approach Each
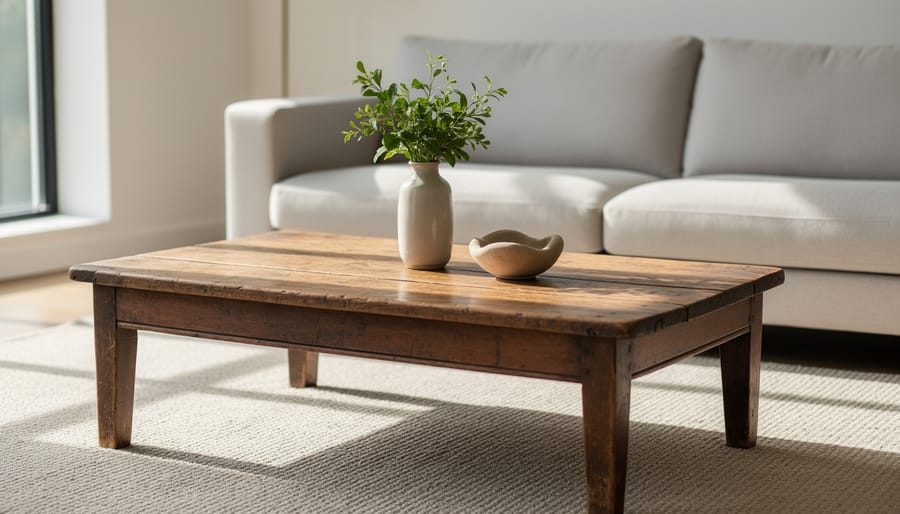
Different Asian coffee table styles have distinct personalities, and understanding these differences helps you style them authentically. A Japanese chabudai, the traditional low dining table, sits close to the floor and demands restraint. Keep styling minimal: a single ikebana arrangement, a small ceramic tea set, or one carefully chosen object. The low height means anything you place will be viewed from above, so flat items like handmade coasters or a simple cloth runner work beautifully. Avoid tall items that disrupt the horizontal calm.
Chinese carved tables, often featuring intricate lattice work or animal motifs, are statement pieces themselves. Let the craftsmanship shine by using the table’s surface sparingly. A pair of matching ceramic bowls, a jade plant in a shallow dish, or a small lacquered box provides enough interest without competing with the carvings. Position items to frame rather than hide the decorative details, negative space here draws the eye to the artistry.
Korean minimalist tables embrace clean lines and geometric simplicity. Style them with objects that echo this precision: square trays, cylindrical vases, or perfectly round bowls. Monochromatic color schemes work exceptionally well. Think white ceramics against dark wood, or black stone pieces on lighter finishes. Symmetry feels more natural here than with Japanese designs.
Contemporary Asian fusion tables blend traditional elements with modern materials like glass or metal. These give you the most flexibility. You can mix a traditional ceramic piece with modern coffee table books, or pair a Buddha statue with sleek metallic candleholders. The key is maintaining visual coherence, choose a unifying element like color palette or material finish to tie diverse pieces together.
Frequently Asked Questions
How many items should be on an Asian coffee table?
Keep it to three to five carefully chosen pieces maximum. Asian design philosophy prioritizes negative space, so less is genuinely more, your table should feel intentionally styled, not crowded.
Can you mix Asian and Western decor on the same table?
Yes, but approach it thoughtfully. Stick to pieces that share similar aesthetic values like clean lines, natural materials, or handcrafted quality rather than mixing overtly contrasting styles that might clash.
How do you style a very small Asian table?
Choose one beautiful anchor piece, maybe a small ceramic vase with a single stem or a sculptural bowl, and leave plenty of open surface visible. Small tables need even more restraint to avoid looking cluttered.
What colors work best for styling Asian coffee tables?
Natural tones like warm woods, stone grays, soft creams, and muted greens work beautifully. You can add subtle pops of deeper color through ceramics or textiles, but keep the overall palette grounded and earthy rather than bright or busy.
The biggest challenge most people face isn’t choosing the right items, it’s knowing when to stop adding them. If you’re second-guessing your styling choices or want expert guidance tailored to your specific table and room, a virtual design consultation can provide personalized direction. Sometimes an outside eye helps you see what your space truly needs versus what you think it should have.
Styling your Asian coffee table isn’t about following rigid rules, it’s about embracing the philosophy of thoughtful simplicity. Trust your instincts as you arrange and rearrange, always returning to the core principles of balance, negative space, and intentionality. What feels right visually often aligns with these timeless design concepts.
Remember that your table should evolve with the seasons and your life. Swap out elements, try new arrangements, and don’t be afraid to edit ruthlessly. The beauty of Asian-inspired styling lies in what you choose to leave out as much as what you include.
If you’re feeling uncertain about your approach or want personalized guidance for your specific space, A Design Difference offers virtual design consultations that bring professional expertise directly to your home. Sometimes a fresh perspective makes all the difference in creating a space that truly reflects your vision.