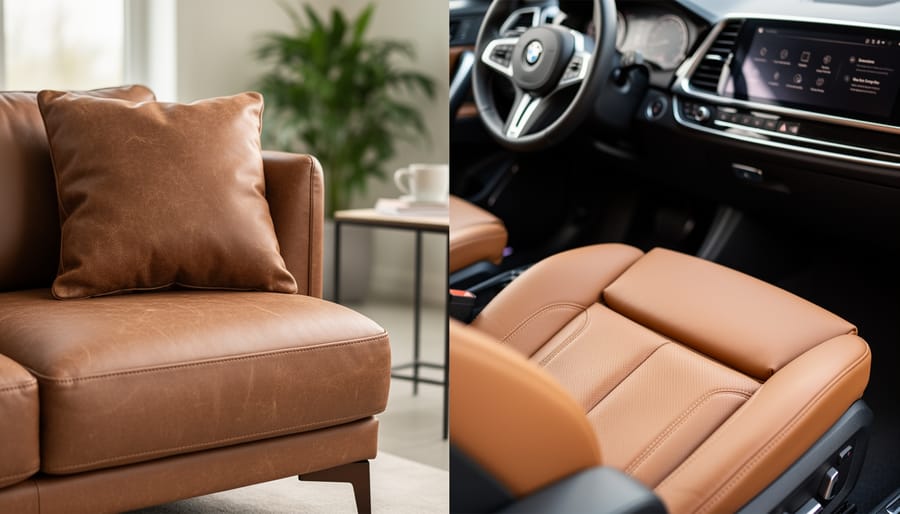
How to Care for Leather Seats in Your Home and Car: The Same Simple Rules Apply
Good news: caring for leather seats follows the same simple process whether you’re cleaning your living room sofa or your car’s interior. The core routine is identical: gentle vacuuming, pH-neutral cleaning, conditioning to prevent cracking, and protecting from UV damage. You’ll spend about 30 minutes per session every three to six months, and the products and techniques transfer seamlessly between home and vehicle.
This universal approach works because quality leather is treated and finished the same way regardless of where it ends up. Both furniture makers and automotive manufacturers use similar tanning processes and protective coatings, meaning that leather responds to the same care regimen. The slight differences you’ll encounter are mostly about access and environment. Car seats face more temperature extremes and direct sunlight, while furniture leather might see spills from food or pets more often. But the fundamentals of keeping leather supple, clean, and protected remain constant.
Understanding this saves you money, simplifies your shopping list, and builds real confidence in maintaining your leather investments. One set of quality products, one reliable method, and you’re equipped to handle leather care throughout your entire space.
Why Leather Care Is the Same Everywhere You Sit
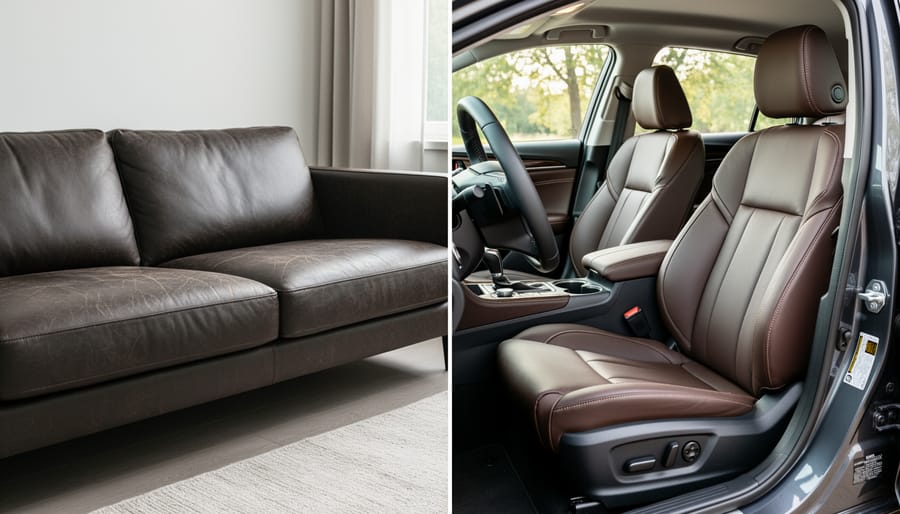
Here’s the truth that makes leather care simple: leather is leather, no matter where it sits. The cowhide that becomes your living room sofa goes through essentially the same tanning process as the leather in your car’s front seats. Both receive protective topcoats, both develop that distinctive patina over time, and both respond to the same fundamental maintenance principles.
The chemistry doesn’t change based on location. Whether you’re treating furniture leather or automotive upholstery, you’re working with a natural material that needs moisture, gentle cleaning, and protection from drying out. Body oils, friction from daily use, and environmental exposure affect all leather surfaces the same way, they gradually strip away natural oils and break down protective finishes. Your sofa faces the same enemies as your car seats: spills, dirt, and the constant contact that comes with regular use.
The myth that car leather demands special automotive-only formulas is largely marketing. While a dedicated car leather cleaner works perfectly fine, so does a quality leather cleaner designed for furniture. The active ingredients that clean, condition, and protect are the same. What matters is using pH-balanced products that won’t strip protective coatings or dry out the leather, whether that leather lives in your den or your driver’s seat.
Understanding this universality saves you money and simplifies your maintenance routine. You don’t need separate product lines cluttering your storage space. One thoughtful approach protects all the leather you interact with daily.
What You’ll Need to Care for All Your Leather Seats
You won’t need a separate arsenal of products for your sofa and another for your car seats. The same basic toolkit handles both, which means less clutter under your sink and more money in your pocket. Here’s everything required to maintain leather wherever you sit:
- Microfiber cloths (at least three): one for cleaning, one for wiping, one for buffing, soft weave prevents scratching
- pH-balanced leather cleaner: look for “all leather types” on the label, avoiding anything with silicone or wax
- Leather conditioner: choose a cream or lotion formula that absorbs rather than sitting on the surface
- Soft-bristled brush: natural horsehair or very soft synthetic bristles for working cleaner into textured leather
- Vacuum with brush attachment: essential for removing grit from seams before you start cleaning
Quality matters more than quantity. A single bottle of good leather cleaner will last through months of maintaining both your living room furniture and vehicle interior. Skip specialty “automotive leather” or “furniture-only” products, they’re marketing distinctions, not chemical necessities. The leather tanned for your couch went through essentially the same process as what covers your car seats, so it responds to the same care.
Store everything together in a small caddy or bin. When it’s time to clean, you’ll grab the same supplies whether you’re heading to the garage or the living room. This streamlined approach turns leather maintenance from an overwhelming chore into a quick, manageable routine.
Before You Start: Safety and Spot-Testing
Before you grab that bottle of cleaner, take five minutes to protect yourself from an expensive mistake. Leather is durable, but it’s also reactive to certain chemicals and products, and what works safely on one piece might damage another.
This simple test reveals problems before they’re visible to everyone who walks into your living room or sits in your car. Apply a small amount of product, work it gently into the leather, then wipe clean and observe. If the test spot looks darker, lighter, sticky, or feels different from the surrounding leather, stop and choose a different product.
Never use household cleaners containing bleach, ammonia, or harsh solvents on leather. These strip the protective finish and dry out the natural oils that keep leather supple. Similarly, avoid all-purpose cleaners, dish soap, and window cleaners, they’re formulated for hard surfaces, not animal hide.
Check your manufacturer’s care instructions if you have them, especially for specialty leathers like suede, nubuck, or exotic skins. Some finishes require specific products or professional care. If your leather’s protective coating is visibly cracked, peeling, or worn through to bare leather, or if you’re dealing with heavily soiled areas, deep stains, or mold, call a professional leather restorer rather than risk making the damage worse.
Step-by-Step: How to Clean and Condition Your Leather Seats
Step 1: Remove Loose Dirt and Debris
Start with your vacuum’s soft brush attachment, it lifts dust and grit without scratching the leather’s surface. Work methodically across the entire seat, paying extra attention to seams, piping, and crevices where crumbs and debris accumulate. In car seats, don’t forget the gaps between the seat and center console or door panels. For furniture, vacuum under cushions and along the back seam where the seat meets the frame. This step prevents abrasive particles from turning into scratches when you apply cleaner in the next stage. A quick once-over isn’t enough; take your time getting into every fold and corner.
Step 2: Apply Leather Cleaner
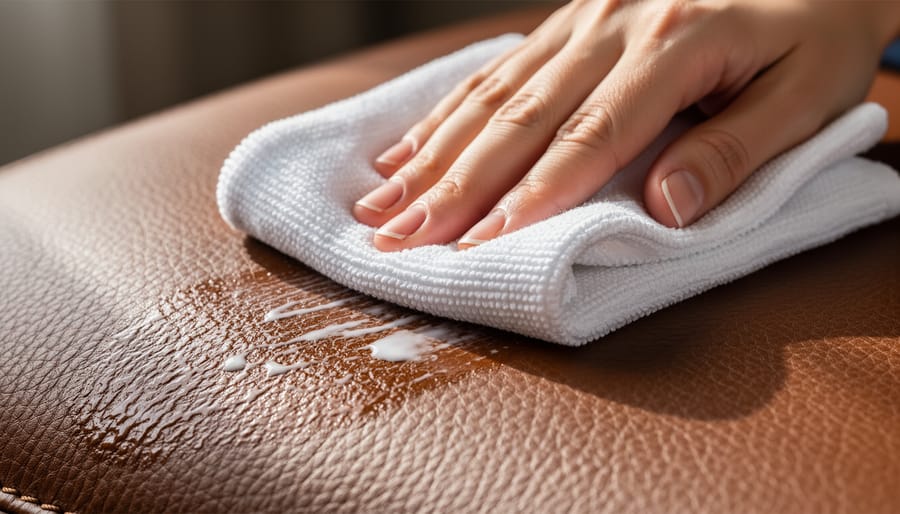
Start with a clean microfiber cloth, not soaking wet, just lightly dampened with your pH-balanced leather cleaner. Spray the cleaner onto the cloth, never directly onto the leather surface where it can pool in seams and cause water damage.
Work one small section at a time, roughly the size of a dinner plate. Use gentle circular motions with light pressure, letting the cleaner do the work rather than scrubbing. For furniture, follow the natural panels of your sofa or chair. In cars, tackle one seat cushion or backrest section before moving on.
When you hit a stubborn spot, maybe a darkened area from body oils or a fresh smudge, resist the urge to press harder. Instead, hold the dampened cloth on the spot for ten to fifteen seconds, then wipe with those same gentle circles. The pause lets the cleaner break down the grime. If it’s still there, repeat once more, but if two attempts don’t lift it, move on. You’ll address persistent stains with conditioning later, and forcing the issue now risks abrading the leather’s protective finish.
Step 3: Wipe and Buff Clean
Once you’ve worked the cleaner through the leather, grab a fresh microfiber cloth and dampen it with plain water, just slightly damp, never dripping wet. Wipe down the entire surface to lift away any cleaner residue, which can leave a film if left behind. Work methodically so you don’t miss sections. Then take a completely dry microfiber cloth and buff the leather using light, circular motions. This final buff brings out the natural sheen and ensures the surface is ready for conditioning. You’ll notice the leather looks cleaner and feels smoother to the touch.
Step 4: Condition the Leather
Condition leather every three to six months, or whenever it feels dry to the touch. If you notice the surface looks dull or shows fine lines, it’s time. Apply a small amount of leather conditioner to a clean microfiber cloth, never pour it directly onto the seat. Work it into the leather using small, overlapping circular motions, covering one section at a time. A little goes a long way; you want an even, thin layer rather than a heavy coat that sits on the surface.
Let the conditioner absorb for the time specified on the product label, typically 15 to 30 minutes. During this period, the leather drinks in the conditioning oils that restore flexibility and prevent cracking. Wipe away any excess that hasn’t absorbed with a dry cloth. For very dry leather in older furniture or cars, you might apply a second light coat after the first has fully penetrated.
Step 5: Final Buffing and Protection
After the conditioner has absorbed, grab a fresh, dry microfiber cloth and give the leather one last gentle buff. Use light, circular motions to bring out a subtle sheen, you’re polishing away any excess product and evening out the finish. This final pass makes a noticeable difference in how the leather looks and feels.
Walk around and inspect your work. Run your hand over the surface to catch any sticky patches or dry spots you missed. Car seats especially hide problems in side bolsters and where cushions meet backrests. If you find an area that feels different, repeat the cleaning or conditioning step just for that spot.
Now comes the hardest part: leave the leather alone. Don’t sit on your sofa or drive your car for at least 30 minutes, ideally an hour. The conditioner needs this time to fully bond with the leather fibers. Sitting too soon can create uneven wear patterns and transfer product onto your clothes. Crack a window in the car or open room windows to help air circulation speed the final curing process.
How to Know Your Leather Is Properly Cared For
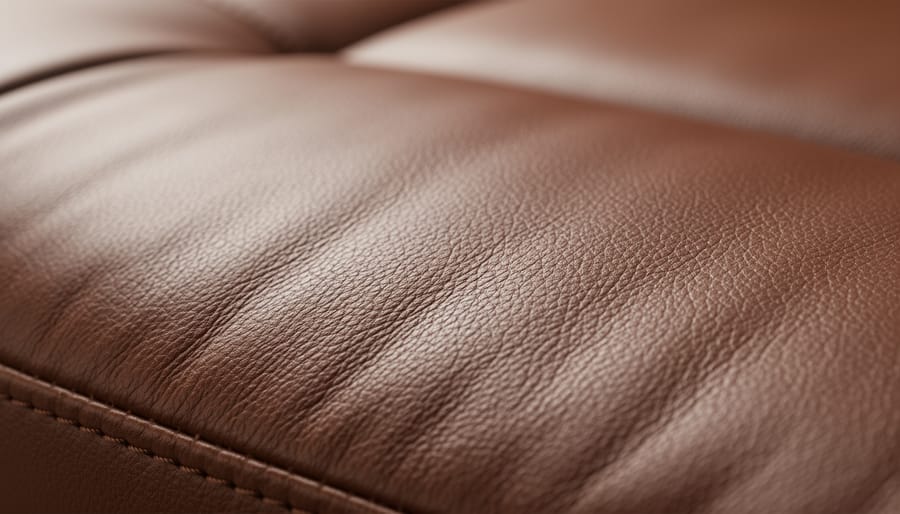
Properly maintained leather has a distinctive feel and appearance that tells you everything’s working. Run your hand across the surface, it should feel supple and slightly cool to the touch, not sticky, greasy, or bone-dry. The leather should have a subtle, natural sheen without looking wet or glossy. If you see standing product or an oily film, you’ve used too much conditioner.
Check the color consistency. Well-cared-for leather maintains even tone across the entire surface, without dark patches from dirt buildup or lighter spots where product has stripped away oils. Bend or flex a cushion gently, the leather should move smoothly without cracking sounds or visible stress lines.
The smell test matters too. Fresh leather has a clean, slightly earthy scent. If you detect mustiness, there’s hidden dirt or moisture. A chemical odor means product residue needs buffing away.
For ongoing maintenance, clean your leather every two to three months, or monthly if you have kids or pets. Condition every three to six months, or when the leather feels dry to the touch. Car seats exposed to direct sunlight might need conditioning every three months, while a den sofa in moderate use stretches to six.
Set a phone reminder tied to the season change. This simple schedule keeps both your furniture and car seats in peak condition year-round.
Handling the Differences: When Location Matters
While the core care process remains identical, a few environmental factors mean you’ll want to tweak your approach slightly depending on whether you’re working on your living room sofa or your car’s interior.
The biggest difference is UV exposure. Car leather sits in direct sunlight far more intensely than most furniture, especially if you park outside. After conditioning your car seats, consider applying a leather protectant with UV inhibitors, the same conditioner you use works fine, but add this extra layer of defense every few months. For furniture near sunny windows, you can use the same UV protectant, though it’s less critical indoors.
Temperature extremes also matter in vehicles. Your car’s interior can swing from freezing to scorching, which dries leather faster than the stable climate inside your home. This means car seats often need conditioning more frequently, every three months instead of twice yearly. The products don’t change, just the schedule.
Here are the key adjustments by location:
- Cars need UV protection applied after conditioning to prevent sun damage and fading
- Vehicle interiors require more frequent conditioning due to temperature fluctuations
- Furniture benefits from rotating cushions to distribute wear evenly, which you can’t do with fixed car seats
- Car crevices and seams need extra attention with a soft brush due to tighter spaces and more trapped debris
Accessibility presents the final challenge. Car seats have tight crevices, bolsters, and hard-to-reach areas between seats and consoles. You’ll need to work in smaller sections and use a gentler touch in confined spaces, but the same microfiber cloths and cleaner do the job. For furniture, you have more room to maneuver, making the process faster and easier to inspect your work.
These adjustments are minor, think of them as customizing your technique to the environment, not learning a completely different skill set.
Common Mistakes That Damage Both Furniture and Car Leather
The quickest way to ruin leather, whether it’s your favourite armchair or your driver’s seat, is reaching for whatever’s under the kitchen sink. All-purpose cleaners, glass sprays, and furniture polish contain harsh chemicals that strip leather’s natural oils and protective finish. These products work on hard surfaces, but leather is skin, and treating it like countertops leads to cracking, discolouration, and permanent damage.
Over-wetting is another common error. Soaking leather or leaving it damp causes water stains, weakens fibres, and can lead to mildew in car interiors where air circulation is limited. Your cloth should be just damp enough to clean, never dripping.
Skipping conditioning altogether ranks high on the damage list. Without regular conditioning every three to six months, leather dries out, loses its suppleness, and develops cracks that can’t be reversed. Think of conditioning like moisturising your own skin, it’s preventative care, not optional.
Neglecting routine maintenance allows dirt and body oils to build up, creating abrasive layers that wear down the surface faster than age alone. A quick monthly wipe prevents years of damage. Similarly, aggressive scrubbing with stiff brushes or rough cloths scratches the finish; gentle circular motions with microfiber always win.
The pattern here? Most leather damage comes from treating it like something it isn’t. Avoid band-aid fixes with random household products and stick to proper leather-specific care, it’s the only approach that protects both your sofa and your car seats long-term.
Frequently Asked Questions
Can I really use the same products on my car seats and living room sofa?
Yes, absolutely. Quality leather cleaners and conditioners work on any finished leather surface, the material composition and protective topcoat are essentially identical whether you’re sitting in your vehicle or on your couch. One set of pH-balanced products handles both applications, though you might need to work around tight car crevices differently than open furniture surfaces.
How often should I clean and condition leather seats?
Clean leather seats every 2-3 months with a proper leather cleaner, and condition every 3-6 months or whenever the surface feels dry to the touch. Car seats exposed to more sunlight and temperature swings may need conditioning slightly more often than furniture indoors.
Will this work on suede or nubuck leather?
No, suede and nubuck require specialized care products designed for unfinished leather. The cleaning and conditioning approach described here applies only to finished, smooth leather with a protective topcoat.
What if I spill something on leather seats?
Blot immediately with a clean, dry cloth, don’t rub. For water-based spills, let air dry naturally; for oils or grease, use your leather cleaner as soon as possible following the normal cleaning process.
When should I call a professional instead?
Contact a leather restoration specialist for deep cracks, color loss, torn seams, mold growth, or damage to the protective coating. Professionals can re-dye, repair structural damage, and restore heavily neglected leather beyond what home maintenance can fix.
The good news? Most leather care stays well within DIY territory. Regular maintenance with the right products prevents the damage that would need professional intervention, keeping both your furniture and car interiors looking great for years.
Caring for leather doesn’t have to mean doubling your effort or your product collection. Once you realize that the same gentle approach works on every leather surface you sit on, whether it’s your living room sectional or your driver’s seat, maintenance becomes remarkably straightforward. You can tackle both in a single afternoon with one set of quality products, saving shelf space and simplifying your routine.
This seamless design approach to leather care protects your investment across your entire lifestyle. Regular cleaning and conditioning prevent cracking, fading, and premature wear that would cost hundreds or thousands to repair or replace. Start this weekend: grab your supplies, work through your furniture, then head to the garage. Your leather will reward consistent attention with lasting beauty and comfort that improves both your home and your daily drive for years to come.
Leave a Reply